
Introduction:
Ice cube trays are a common household item used for freezing water to create ice cubes. These trays provide a convenient and easy way to make ice cubes for drinks and various other purposes.
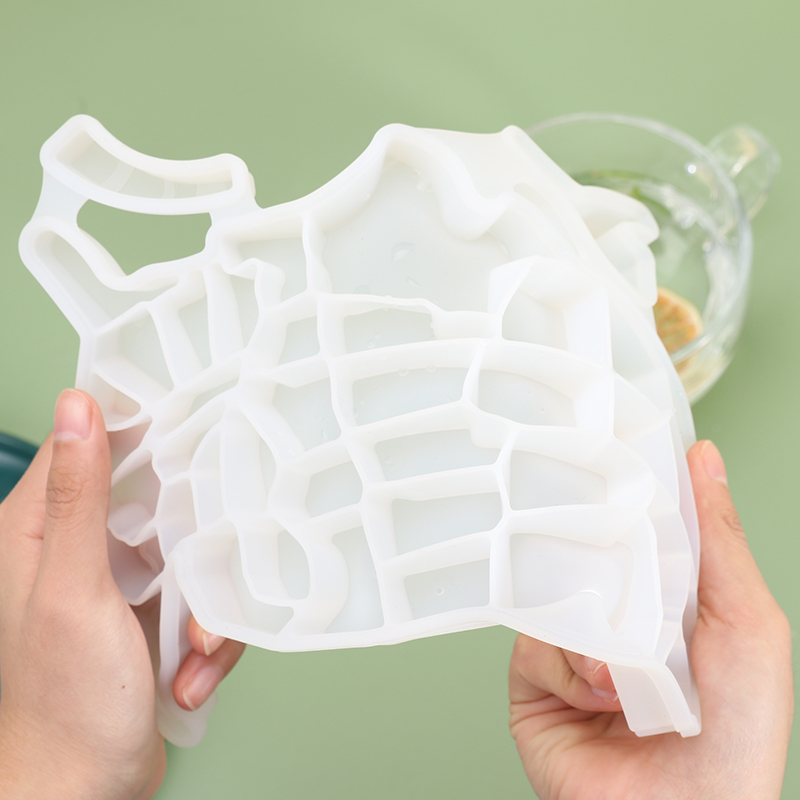
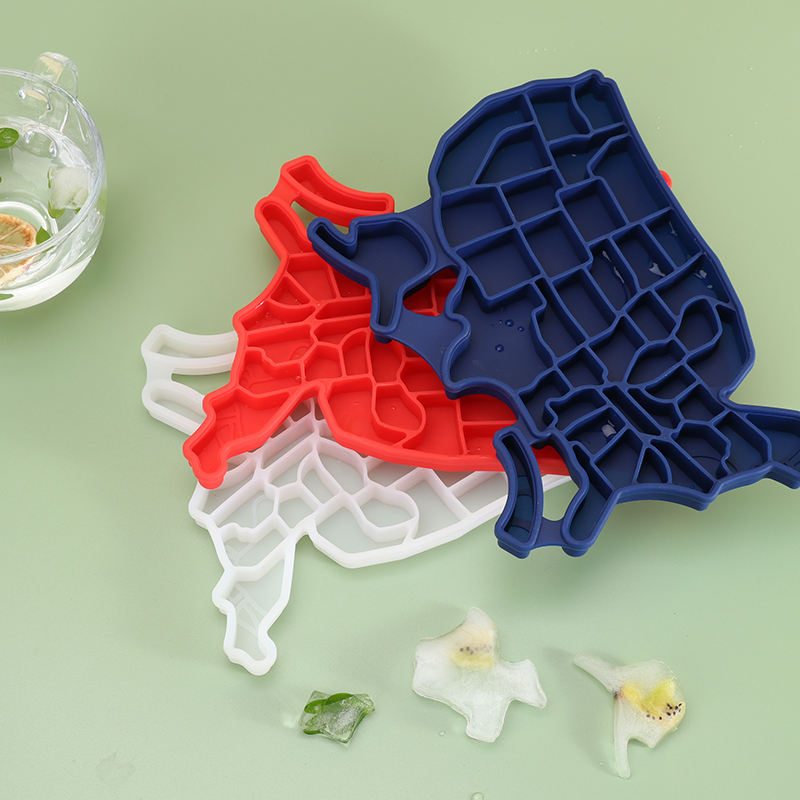
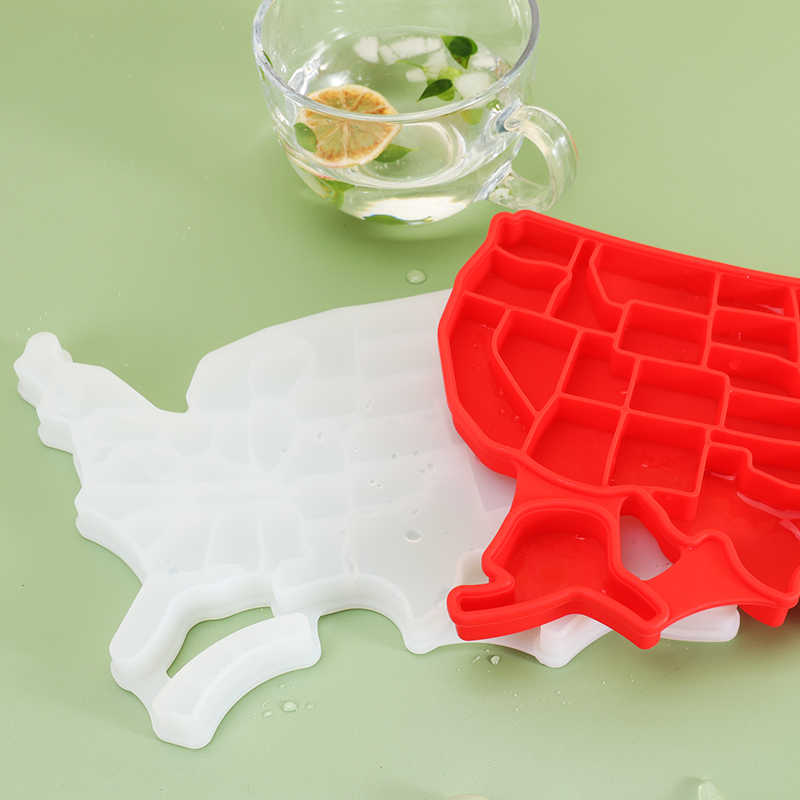
I. Tray Design: Compartments and Structure
Ice cube trays are typically made of plastic or silicone and feature a compartmentalized design. This design consists of several individual compartments, each capable of holding a specific amount of liquid. The trays may feature different shapes, such as cubes, spheres, or even novelty shapes, depending on the consumer’s preference.

II. Filling the Trays: Pouring and Measuring
To use an ice cube tray, one must fill each compartment with water. This can be done by pouring water from a tap or using filtered water for clearer ice cubes. The user can choose the desired water level, either filling each compartment to the brim or leaving some space for the ice to expand during freezing. Care should be taken not to overfill the compartments, as this may cause the trays to become unstable or difficult to handle.
III. Freezing Process: Temperature and Time
Once the compartments are filled, the ice cube tray is placed in a freezer. The freezing process relies on the low temperatures inside the freezer to solidify the water. Typically, freezers maintain temperatures below 0°C (32°F), ensuring the water freezes into ice within a certain time frame. The exact duration for freezing depends on various factors, including the freezer’s temperature, the tray material, and the volume of water in each compartment. On average, it takes around 2 to 4 hours for water to freeze completely in a standard home freezer.
IV. Removal of Ice Cubes: Tapping and Twisting
After the water has frozen, it’s time to remove the ice cubes from the tray. This step involves separating the frozen cubes from the tray. Many ice cube trays are designed with flexible bottoms, allowing the user to tap or bend the tray, loosening the cubes for easy removal. In some cases, twisting the tray can also release the cubes. Alternatively, trays with individual compartments may have a removable bottom or push-up mechanism, which enables the user to push the ice cubes out one by one.
V. Storing and Serving Ice Cubes: Containers and Hygiene
Once the ice cubes are removed from the tray, they can be transferred to a container or directly used for serving. It is essential to store the ice cubes in a clean and hygienic manner to prevent contamination. This can be achieved by using airtight containers or sealed bags, ensuring the ice cubes stay fresh, odor-free, and free from any debris. Ice cubes can be conveniently added to drinks or used for various purposes such as chilling food items or relieving minor injuries.
Conclusion: Convenient Ice Making at Home
In conclusion, ice cube trays provide a simple and effective way to make ice cubes at home. By understanding their design, filling process, freezing mechanism, cube removal techniques, and storage considerations, users can use ice cube trays efficiently. These versatile kitchen tools offer convenience and ensure a steady supply of ice cubes for refreshing beverages and a wide range of other applications. So, next time you need ice, simply grab an ice cube tray and enjoy the ease of homemade ice cubes.