

Introduction:
An electric garlic chopper is a handy kitchen appliance that simplifies the process of mincing or chopping garlic. This versatile tool saves time and effort compared to manual chopping, providing consistent results every time. In this guide, we will walk you through the steps of using an electric garlic chopper effectively.
1. Preparation:
Before using the electric garlic chopper, ensure that it is clean and dry. Read the manufacturer’s instructions and familiarize yourself with the specific features and operation of your appliance. Additionally, make sure you have peeled and cleaned the garlic cloves you intend to chop.
2. Assembling the Chopper:
Most electric garlic choppers are designed with detachable parts for easy cleaning. Start by attaching the appropriate blade or chopping attachment to the main unit according to the manufacturer’s instructions. Ensure that it is securely locked in place before proceeding.

2. Assembling the Chopper:
Most electric garlic choppers are designed with detachable parts for easy cleaning. Start by attaching the appropriate blade or chopping attachment to the main unit according to the manufacturer’s instructions. Ensure that it is securely locked in place before proceeding.
3. Loading the Garlic:
Open the compartment or container where the garlic will be placed. Some electric choppers have a removable cup or chamber while others may have a built-in container. Place the peeled garlic cloves into the compartment, taking care not to overfill it to avoid clogging or uneven chopping.

4. Securing the Lid:
Carefully place the lid or cover over the garlic compartment, ensuring it fits snugly to prevent any garlic from escaping during operation. The lid usually has a safety mechanism that needs to engage properly for the chopper to work.
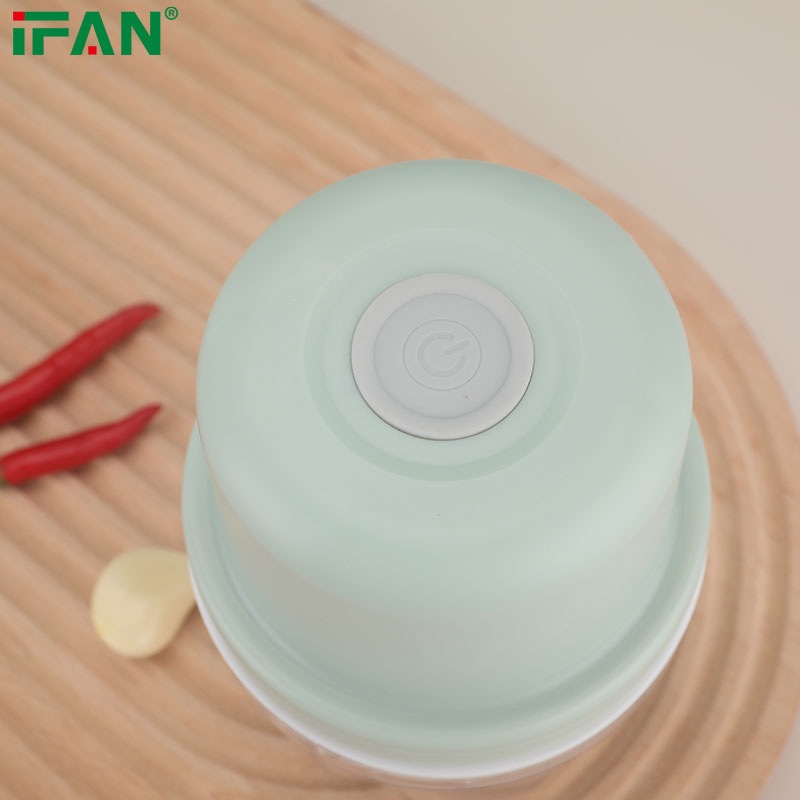
5. Operating the Chopper:
Check if your electric garlic chopper has a power button or switch. Press and hold the button or switch to start the chopping process. Depending on the model, you may need to press continuously or use pulse action for desired consistency. Avoid running the chopper for excessively long periods to prevent overheating.

6. Checking Progress:
Once you have operated the chopper for a few seconds, pause and remove the lid to check the progress. If the garlic is not chopped to your desired consistency, continue operating the chopper in short intervals until you achieve the desired results.
7. Emptying and Cleaning:
After you have finished chopping the garlic, unplug the appliance if necessary and carefully remove the lid. Empty the chopped garlic from the compartment, using a silicone spatula or spoon to ensure all the garlic is removed. Clean the parts of the chopper following the manufacturer’s instructions. Usually, the detachable components can be washed with warm soapy water.
8. Safety Tips:
– Always handle the electric garlic chopper with caution and keep your hands away from the blades.
– Disconnect the appliance from the power source before cleaning or assembling/disassembling.
– Store the chopper in a safe place, out of reach of children.
Conclusion:
An electric garlic chopper is a convenient tool that simplifies the process of chopping garlic in the kitchen. By following these steps and considering the manufacturer’s instructions, you can make the most of your electric garlic chopper and enjoy perfectly minced garlic for your culinary creations. Remember to prioritize safety and cleanliness while using and maintaining your chopper for optimal performance and longevity.